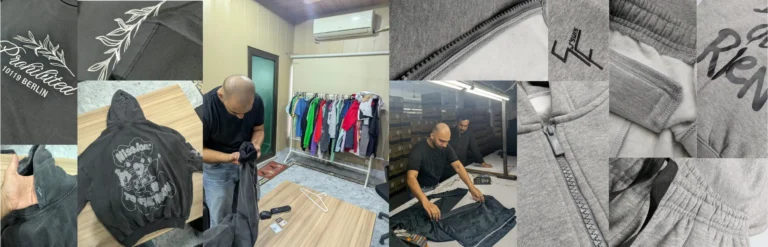
Developing a garment is two projects running side by side. On the material track, fibre becomes yarn, yarn becomes fabric, and fabric is dyed and finished. On the design track, an idea becomes a sketch, a tech pack, a pattern and an approved sample. The two tracks meet at cutting — and from there the garment is sewn, finished, inspected and packed.
This guide walks through each stage, what you need to bring to it, and the delays to plan for.
1. The brief
Every good product starts with a clear brief: who the customer is, the price point, the quantity, the timeline and a few references. A brief does not need to be long. It needs to be specific enough that the design and the fabric can be chosen against it.
2. Design
Design turns the brief into garments: research and mood, sketches, colour and fabric direction, and a line plan. Digital illustration is useful here because it shows proportion and styling before anything is cut. The output of design is not a pretty picture — it is a decision about what will be made.
3. The tech pack
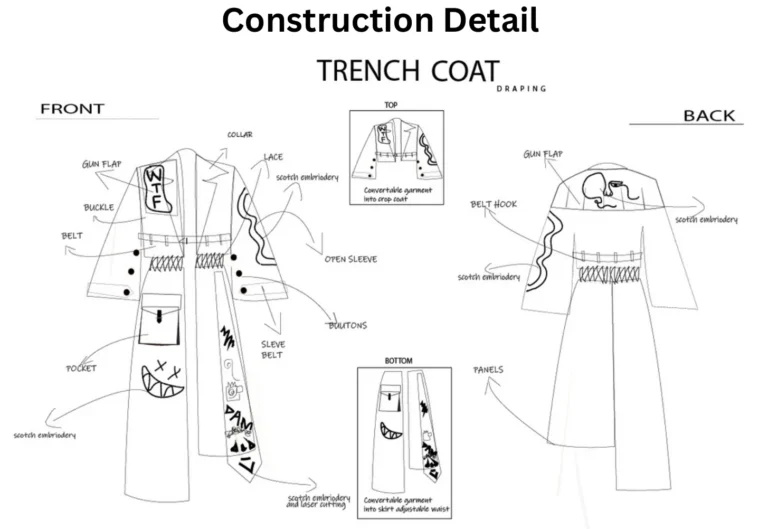
The tech pack is the instruction manual for the factory: technical flats, fabric and composition, a bill of materials, points of measure with tolerances and grading, construction and stitching, labels, artwork, wash and packaging. A complete tech pack is what makes a quotation accurate and a sample right first time. (We publish free tech pack templates if you want a head start.)
4. Pattern, grading and CLO 3D
The pattern maker drafts the pieces — front, back, sleeves, rib — and grades them across the size range. With CLO 3D the pattern is sewn virtually on an avatar using the fabric’s physical properties, so fit, drape and proportion can be checked and changed before a physical sample exists. Fewer sampling rounds is the usual payoff.
5. Fabric and trims
In parallel, fabric is developed or sourced to hit the target weight (GSM), handfeel and colour. Colour is approved through lab dips; fabric is tested for shrinkage and colour fastness. Trims — labels, zips, buttons, drawcords, packaging — are confirmed against the bill of materials.
6. Sampling
Sampling usually runs in stages. A proto sample checks the idea and construction. A fit sample checks measurements on a body or form, with corrections fed back into the pattern. A pre-production sample is made in the real fabric and trims and becomes the standard bulk is measured against.
7. Cutting
At cutting the two tracks converge. Pattern pieces are nested into a marker to reduce waste, fabric is spread in layers, pieces are cut and then bundled by size and shade so panels from the same ply are sewn together.
8. Sewing, washing and finishing
Garments are assembled in sequence — for a T-shirt: shoulders, neck rib, sleeves, side seams, hems and labels. Some styles are then garment-washed, softened or distressed, and everything is pressed.
9. Quality control
Quality is checked more than once: fabric inspection before cutting, in-line checks during sewing, and a final inspection against an agreed sampling plan (AQL). A measurement audit checks points of measure against the tech pack tolerances.
10. Packing and export
Finally garments are folded, bagged, labelled and packed into cartons, with export documentation and freight arranged for the destination.
Where projects slip
- Incomplete tech packs — every missing detail becomes a question, a delay or a wrong sample.
- Late fabric decisions — fabric lead time often sets the whole timeline.
- Lab dip rounds — colour approval can take more than one round.
- Fit rounds — each extra fit sample adds time; 3D fitting reduces them.
- Late changes after approval — changing a pre-production sample restarts the clock.
If you want to see how this applies to your product, the estimator shows which stages your project passes through, or you can talk to the studio.